_edited.jpg)
A Quick-Start Guide to QuickBooks Online for Canadian Businesses
- Anchor Peak Bookkeeping

- Apr 9
- 7 min read

A clean, well-organized QuickBooks Online (QBO) file is the foundation of your business’s financial health. Setting it up correctly from day one saves time, prevents costly errors, and makes tax season a breeze.
If you are a Canadian small business owner ready to take control of your finances, here is your step-by-step guide to getting your QBO file set up and ready for daily operations.
Phase 1: Creating Your Account and Configuring Global Settings
Setting up your QBO subscription is just the first step. You must configure your global settings before entering any data to ensure the software behaves exactly as your business needs it to.
Choose the Right Subscription: Select a QBO plan that fits your operational needs. Product-based businesses typically need Plus for inventory tracking, while service-based businesses can often run smoothly on EasyStart or Essentials.
Once your account is created, navigate to the Gear Icon ⚙️ and select Account and settings. Work your way through the following critical tabs:
1. The Company Tab
This is the face of your business.
Company Logo & Name: Upload your high-resolution logo and ensure your Legal Name exactly matches your CRA registration.
Company Type: Select your tax form structure (Sole Proprietorship, Partnership, Corporation).
Contact Info & Addresses: Input your company email, phone, and website. Make sure your Customer-facing address (what appears on invoices) is correct, and your Legal address is accurate for tax purposes.
2. The Sales Tab
This tab controls how you bill your clients and what information appears on your sales forms.
Sales Form Content: Set your preferred Default terms (e.g., Net 15, Net 30) so you don't have to select them manually on every invoice.
Products and Services: Turn on Show Product/Service column on sales forms (essential for tracking what you actually sell). Turn on inventory tracking if you sell physical goods (Plus/Advanced only).
Late Fees: Automate your late fees here by setting a flat fee or percentage to be applied to overdue invoices.
3. The Expenses Tab
Configure how you track money going out.
Bills and Expenses: Set your Default bill payment terms.
Item Table: Turn on Show Items table on expense and purchase forms. This is vital if you purchase inventory or specific services that you need to assign directly to Cost of Goods Sold.
4. The Advanced Tab
This is the most critical tab for your financial accuracy.
Accounting: Set your First month of fiscal year (typically January for sole props, but often different for corporations). Choose between Cash or Accrual accounting.
Close the Books: Once your prior year taxes are filed, toggle this on and set a password. This prevents accidental changes to historical data.
Chart of Accounts: Toggle on Enable account numbers. This allows you to use the standard numbering system discussed in Phase 3.
Phase 2: Configuring Canadian Sales Tax (GST/HST/PST)

Setting up your sales tax correctly is critical for filing accurate returns with the CRA.
Go to Taxes in the left-hand menu and select Sales Tax.
Click Set up sales tax and select your primary province or territory. QBO will automatically generate the default tax rates. Enter your CRA Business Number, filing frequency, and reporting method.
Creating a 50% Tax Code for Meals and Entertainment (M&E):
In Canada, only 50% of the sales tax paid on eligible meals and entertainment can be claimed as an Input Tax Credit (ITC). To automate this, create a custom "Group Rate." (Note: The example below assumes a 5% GST rate—adjust the 2.5% based on your specific provincial rate).
Under the Sales Tax center, select Manage sales tax.
Create the Eligible Rate: Click Add rate. Name it "GST 2.5% Eligible". Check "I pay this on purchases". Enter 2.5%. Choose Liability from the Account drop-down. Click Add.
Create the Ineligible Rate: Click Add rate again. Name it "GST 2.5% Ineligible". Check "I pay this on purchases". Enter 2.5%. Choose Non-tracking from the Account drop-down. Click Add.
Group Them Together: Click Add tax in the upper right, then select Add next to Group rate.
Name the group "Meals and Entertainment (M&E)".
Select your "GST 2.5% Eligible" rate from the first drop-down, click Add another tax rate, and select your "GST 2.5% Ineligible" rate. Click Add.
Now, simply select your "Meals and Entertainment (M&E)" tax code from the drop-down every time you enter an eligible restaurant receipt!
Phase 3: Building and Importing Your Chart of Accounts (COA)
The Chart of Accounts is the backbone of your bookkeeping. Instead of relying on QBO’s default lists, build a customized, numbered COA in Excel first and then import a clean list.
The Standard Numbering System:
Set up your Excel sheet with columns for Account Number, Account Name, Account Type, and Detail Type. Assign your accounts using these standard categories:
1000s - Assets: Bank accounts, Accounts Receivable, Inventory, Equipment.
2000s - Liabilities: Credit cards, Accounts Payable, Loans, Sales Tax Payable.
3000s - Equity: Owner/Shareholder accounts, Retained Earnings.
4000s - Income/Revenue: Sales, Services, Consulting fees.
5000s - Cost of Goods Sold (COGS): Direct materials, Direct labor, Subcontractors.
6000s & 7000s - Operating Expenses: Advertising, Bank fees, Software, Rent, Insurance.
8000s - Other Income/Expenses: Interest income, Corporate Income Tax.
Customizing Accounts by Business Structure:
You must configure your Equity (3000s) and Liability (2000s) accounts according to your specific legal structure:
Sole Proprietorship: You only need accounts to track what the single owner puts in and takes out.
3010 - Owner's Equity | 3020 - Owner's Contributions | 3030 - Owner's Draws
Partnership: You must track the financial activity of each partner separately.
3010 - Partner A Equity | 3015 - Partner A Contributions | 3020 - Partner A Draws (Replicate for each partner).
Corporation: Owners are shareholders, and money moving between the corporation and individuals is strictly regulated.
3010 - Share Capital (Initial investment)
3020 - Retained Earnings (Auto-generated by QBO)
3030 - Dividends Paid * 2050 - Shareholder Loan (Long-Term Liability tracking money the shareholder loans to the company, or draws outside of official dividends).
Importing Your Excel COA into QBO:
Navigate to the Gear Icon ⚙️ > Import Data > Chart of Accounts.
Download QBO's sample file to verify your column headers.
Upload your saved Excel file, map your columns to QBO’s corresponding fields, and click Import.
Phase 4: Connecting Bank and Credit Card Accounts
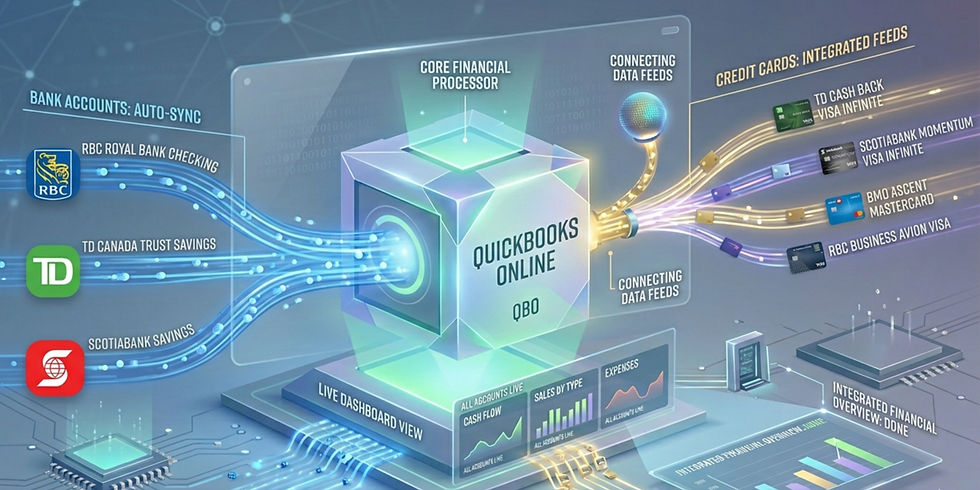
Go to Transactions > Bank transactions.
Click Connect account.
Search for your bank and log in using your secure credentials. Select the accounts used exclusively for business.
What to do when bank connections fail (Manual Uploads):
Sometimes, bank feeds disconnect or certain credit unions do not integrate smoothly.
Log into your actual online banking website.
Download your statement as a .QBO (Web Connect) file. If unavailable, select a .CSV (Excel) file.
Back in QBO, go to Transactions > Bank transactions.
Click the drop-down arrow next to "Link account" and select Upload from file.
Select your file and map the columns (Date, Description, Amount) if prompted.
Phase 5: Importing Lists (Customers and Vendors)
Instead of typing every client into the system manually, build your lists in Excel and upload them in bulk.
Open Excel and create columns for Company Name, First Name, Last Name, Email, Phone, and Billing Address.
Populate your sheet and save it.
In QBO, click the Gear Icon ⚙️ > Import Data > Customers (or Vendors).
Upload your spreadsheet, map your headers, and click Import.
Phase 6: Customizing Sales Forms
Click the Gear Icon ⚙️ and select Custom form styles.
Click New style > Invoice.
Upload your company logo, choose your brand colors, and select a font.
Under the Content tab, customize your standard messaging and payment instructions.
Phase 7: Syncing Payment Apps and Recording Merchant Fees

If you take payments via third-party processors (Stripe, Square, PayPal), connecting them correctly prevents massive headaches.
Never map gross sales directly to your bank account. When a customer pays a $100 invoice, the processor takes a fee (e.g., $3) and deposits $97. If QBO looks for a $100 deposit and the bank feed shows $97, they will never match. Here are three ways to handle that $3 fee:
Method 1: The Automated Way (Using App Integrations):
Connect the official app from the Apps tab. Open the app settings within QBO and ensure Processing Fees are mapped to an Expense account (e.g., "6050 - Merchant Processing Fees"). The app will automatically close the $100 invoice, record the $3 fee as an expense, and match the $97 net deposit in your bank feed.
Method 2: The Manual Bank Feed Method (Using "Resolve"):
If you are looking at a $97 deposit in your bank feed without an app integration:
Go to Transactions > Bank transactions, click the $97 deposit, and select Find match.
Check the box next to the $100 open invoice.
Scroll to the bottom and toggle the Resolve switch.
Add a new line: Payee (Stripe), Category (Merchant Processing Fees), and Amount as -3.00 (a negative number). Click Save.
Method 3: The Traditional "Bank Deposit" Method:
Click + New > Receive Payment. Check off the $100 invoice. Under "Deposit to", select Undeposited Funds, then save.
Click + New > Bank Deposit. Check the box next to the $100 payment.
Scroll down to "Add funds to this deposit" and enter the fee: Received From (Stripe), Account (Merchant Processing Fees), Amount -3.00.
The bottom right corner will show a total deposit of $97. Click Save and close. When the $97 hits your Bank Feed, QBO will find a perfect match.
Need Help Setting Up Your Books?
Even with a quick-start guide, the initial setup can be highly technical. Getting it right the first time is crucial for accurate financial reporting.

As a QuickBooks Online Advanced Certified ProAdvisor with over a decade of bookkeeping experience, I ensure your books are structured perfectly for your operations from the very beginning. Anchor Peak Bookkeeping provides comprehensive, completely virtual bookkeeping setups and ongoing monthly management for small businesses all across Canada.
Ready to streamline your finances? Reach out today to get your books functioning flawlessly.


Comments